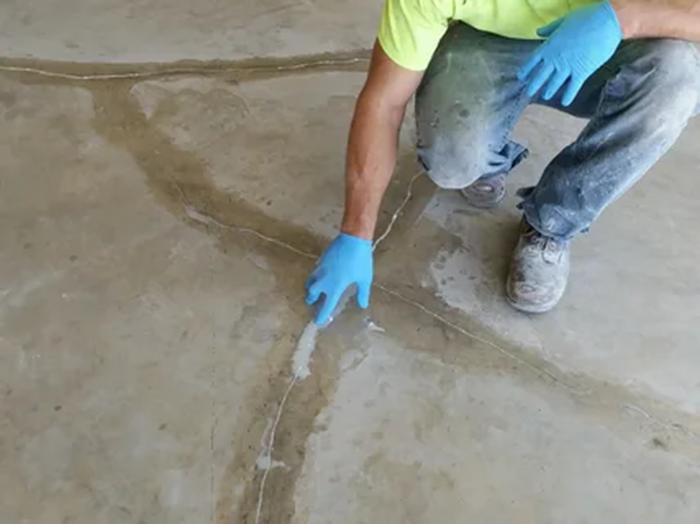
Cracks and false joints in the cement screed must be repaired before laying the floor. While false joints are deliberately applied to the surface, cracks are damage that occurs for various reasons.
In both cases, it is necessary to “sew” the sides of the cement screed slabs again to avoid marks on the floor surface later.
The floor must first be cleaned of dust, it must be dry and clean. Dense or smooth surfaces, such as metals or plastics, must be thoroughly cleaned and degreased, preferably sanded. Poorly adhering or moving layers, separating particles or loose parts of the screeds must be removed – cut off, sanded, cut off.
The crack or seam must be expanded with a grinder or angle cutter, the seam width is about 4-5 mm and the depth is about 25 mm. And also make seams every 25 cm. The cut seams and cracks are treated with a vacuum cleaner, then the staples included in the kit are placed in the transverse cuts.
Next, take the Uzin KR 516 resin. Pour the contents with component A into the container with component B and close. Stir vigorously for 15 seconds. The consistency can be varied, depending on the waiting time, from thin (2 minutes) to viscous (6 minutes).
Fill the crack with resin. Pull the excess material along the crack with a narrow spatula. The mixed material does not harden abruptly, but gradually. Therefore, for thin-flowing applications – process within 4 minutes. For wide seams or adhesive work – let the material mature, i.e. wait 3 minutes, then quickly process. Consider the very short processing time. Quickly gains initial strength
Sprinkle the applied resin in a fresh state with UZIN sand of fraction 0.8 or other quartz sand with a fraction of 0.8 to ensure subsequent optimal adhesion. After hardening, remove excess sand with a vacuum cleaner. Readiness for the next stage occurs after 45 minutes, and final strength after 24 hours.